
Micro mites are plant-feeding mites between 0.15 and 0.25 mm long, invisible to the naked eye and through a 10x hand lens. In cannabis the term mainly covers three species from two families, and all three share a trait that makes them hard to control: the damage shows before the mite does. By the time the symptoms are clear, the population is already established. On top of that, their early symptoms resemble a nutrient deficiency or heat stress, and growers often adjust feeding while the pest keeps spreading.
What micro mites are and which species attack cannabis
A micro mite is not a small spider mite. The two-spotted spider mite (Tetranychus urticae), from the family Tetranychidae, measures 0.4 to 0.5 mm and spins webbing. Micro mites belong to two other families: Tarsonemidae, which includes the broad mite and the cyclamen mite, and Eriophyidae, which includes the hemp russet mite. They do not spin webbing and need considerably more magnification to be seen. In cannabis, the most common are the broad mite and the hemp russet mite.
Broad mite (Polyphagotarsonemus latus)
It measures about 0.2 mm, is oval, translucent or light brown, with a whitish stripe down the middle of its back, and lives on the growing tips and the undersides of young leaves. It is polyphagous: it also attacks pepper, tomato, citrus and many ornamentals. Its saliva is toxic, so a few individuals are enough to distort new growth. Its eggs, covered in rows of white tubercles, are the most useful feature for identifying it.
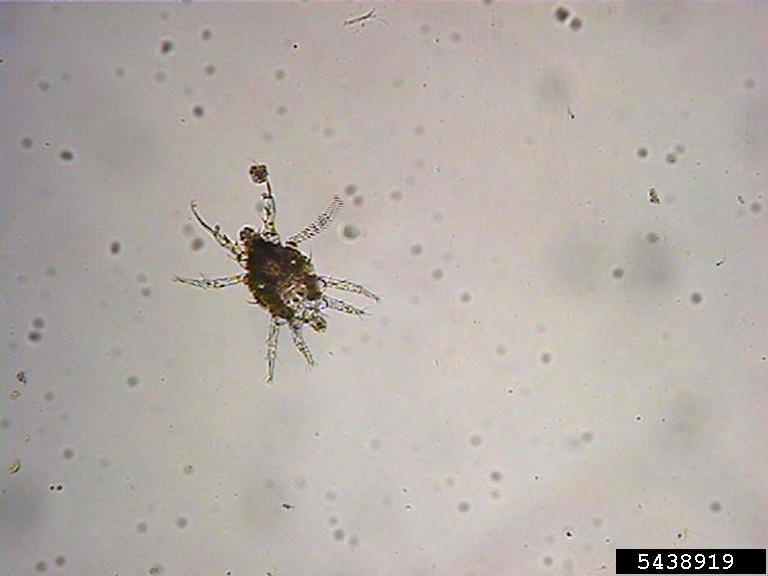

Cyclamen mite (Phytonemus pallidus)
Older texts list it as Steneotarsonemus pallidus, which is a synonym. Similar in size to the broad mite, it is translucent and yellowish to orange. It prefers cool temperatures, high humidity and low light, and hides inside leaves that have not yet unfolded.
In cannabis it is the least common of the three. Its eggs are smooth and stay hidden in dark, humid spots, unlike those of the broad mite, which are covered in tubercles and more exposed.
Hemp russet mite (Aculops cannabicola)
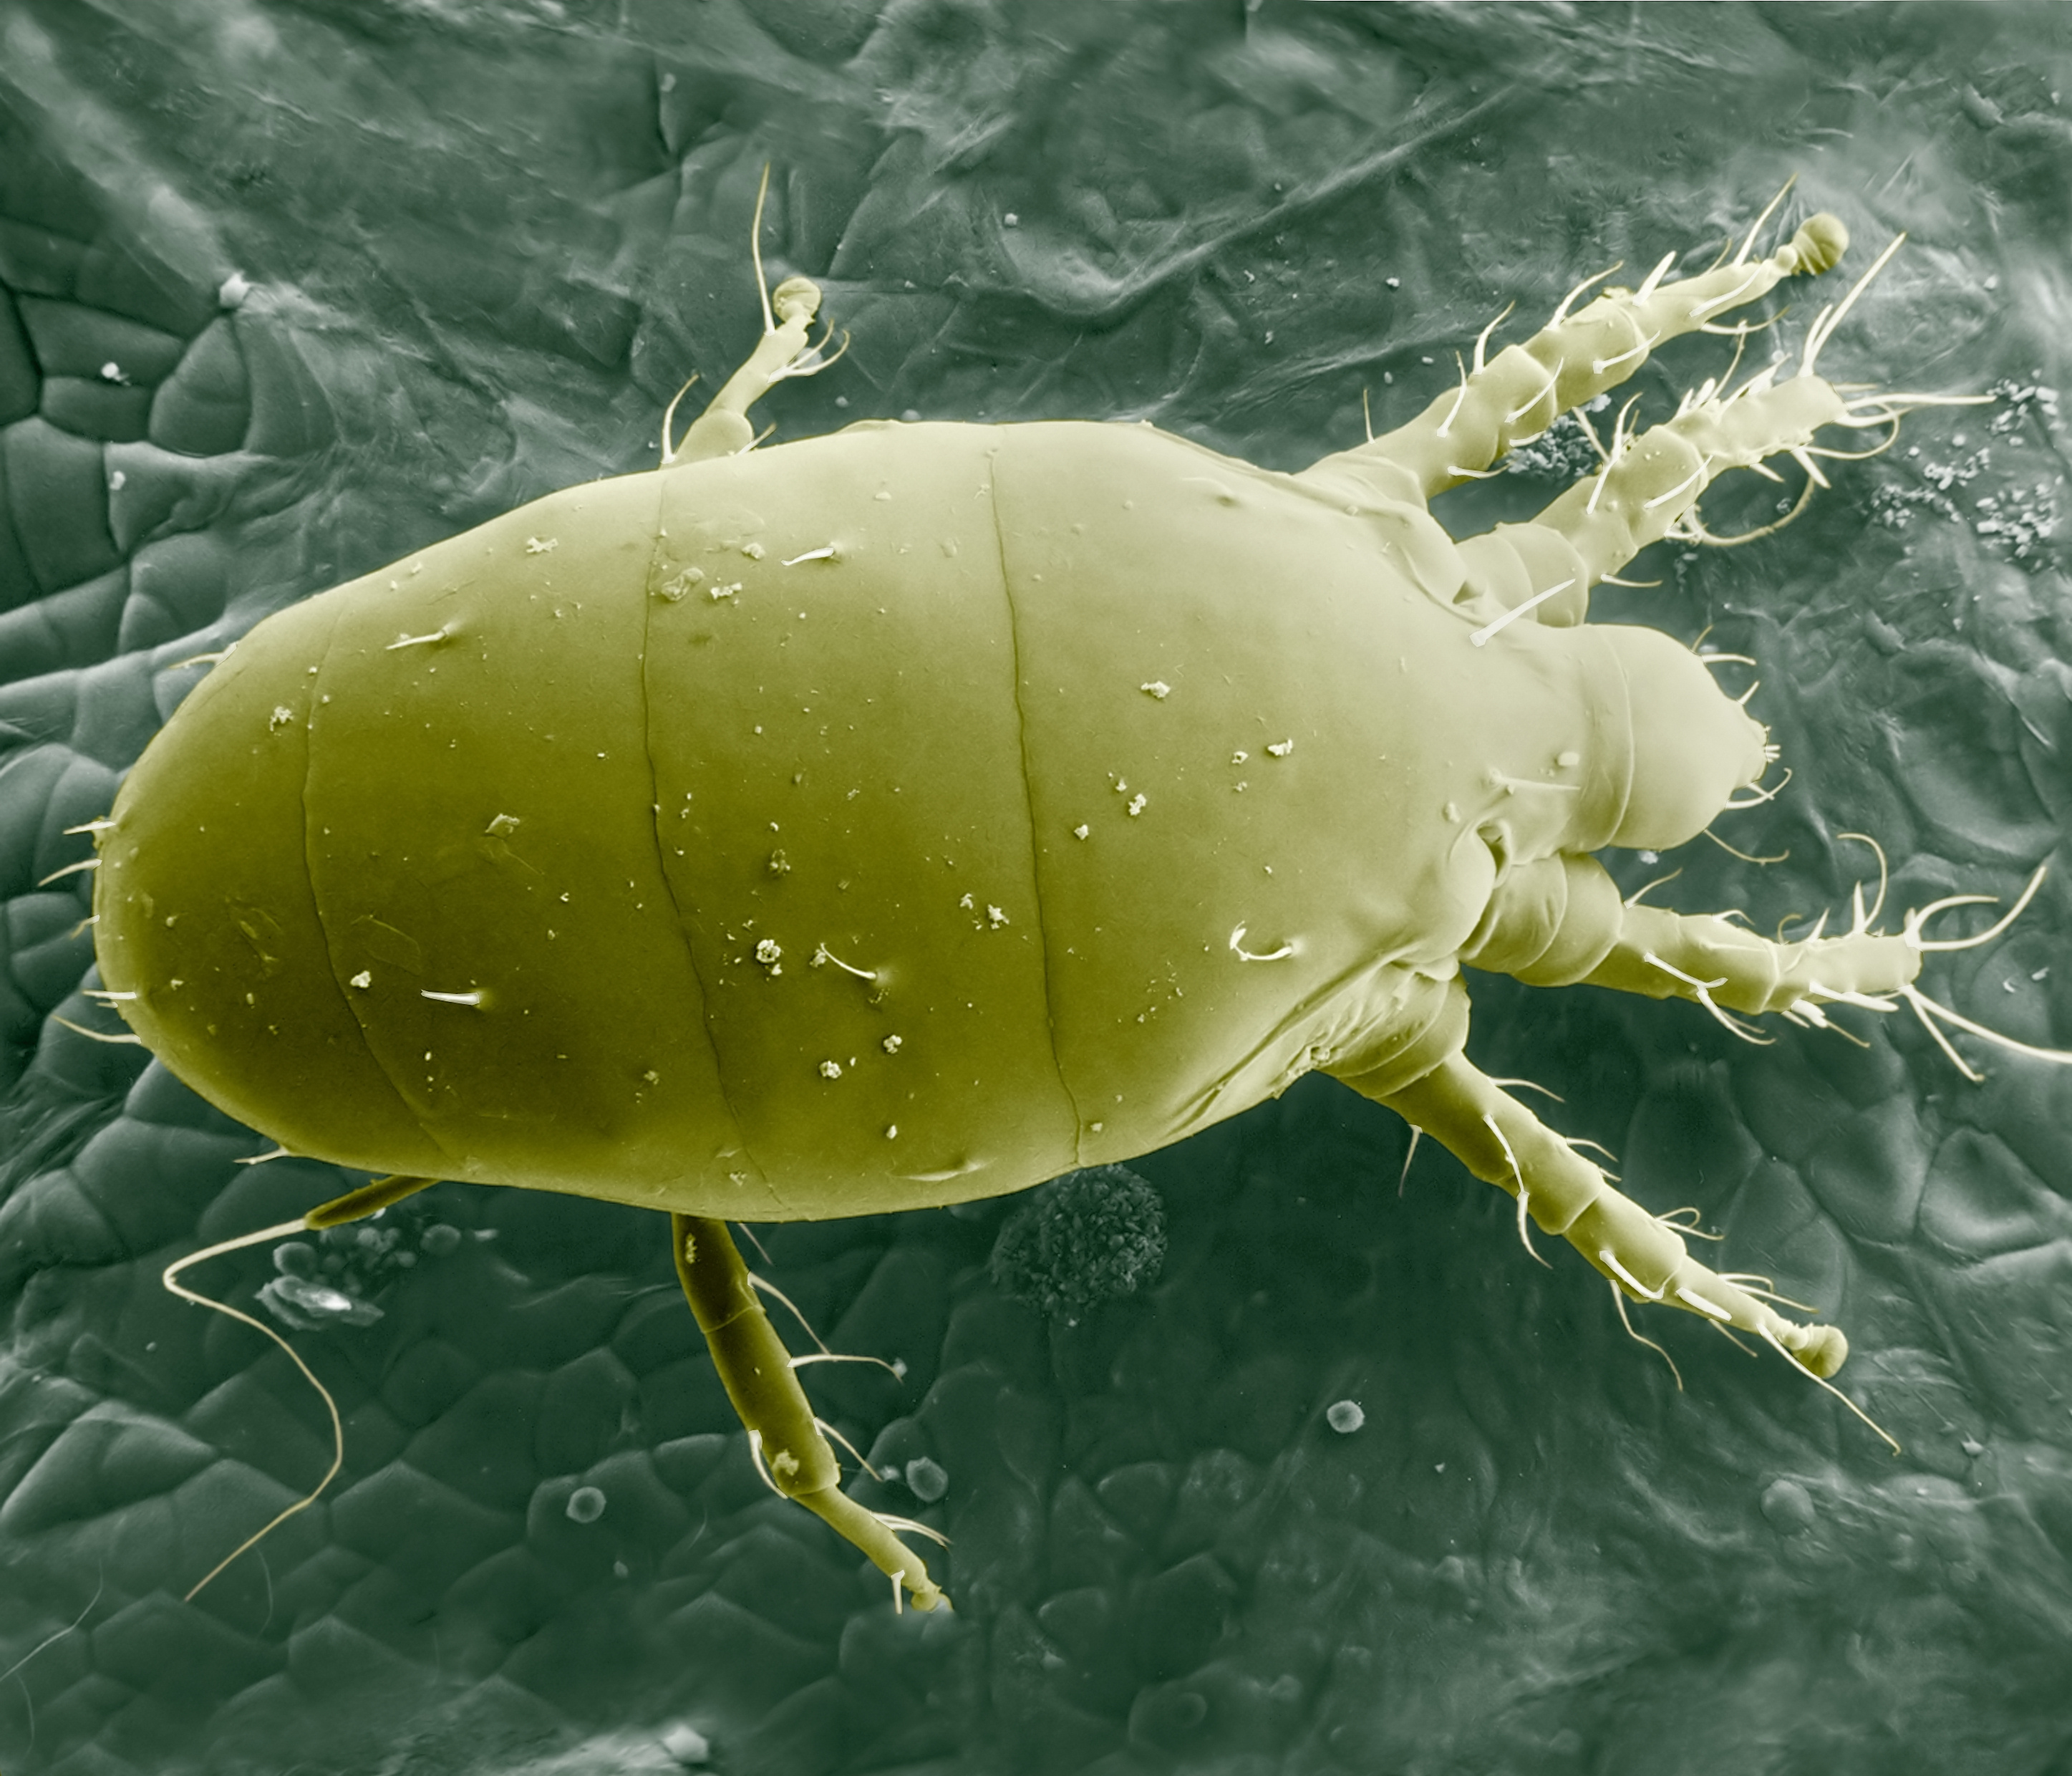
It measures 0.15 to 0.2 mm, is spindle-shaped and cream-coloured, and has only four legs, all at the front. It is specific to the genus Cannabis, reaches very high densities before the plant looks sick and, during flowering, settles among the trichomes.
During the vegetative stage it is found on the undersides of middle leaves, on petioles and on stems. Because it lives only on cannabis, it almost always arrives on cuttings from an infested mother plant, although outdoors it is also spread by wind.
The grape rust mite (Calepitrimerus vitis) belongs to the same family and is often cited as a cannabis pest, but it is specific to grapevines. In cannabis, the eriophyid mite that causes damage is Aculops cannabicola.
Symptoms of micro mites on cannabis plants
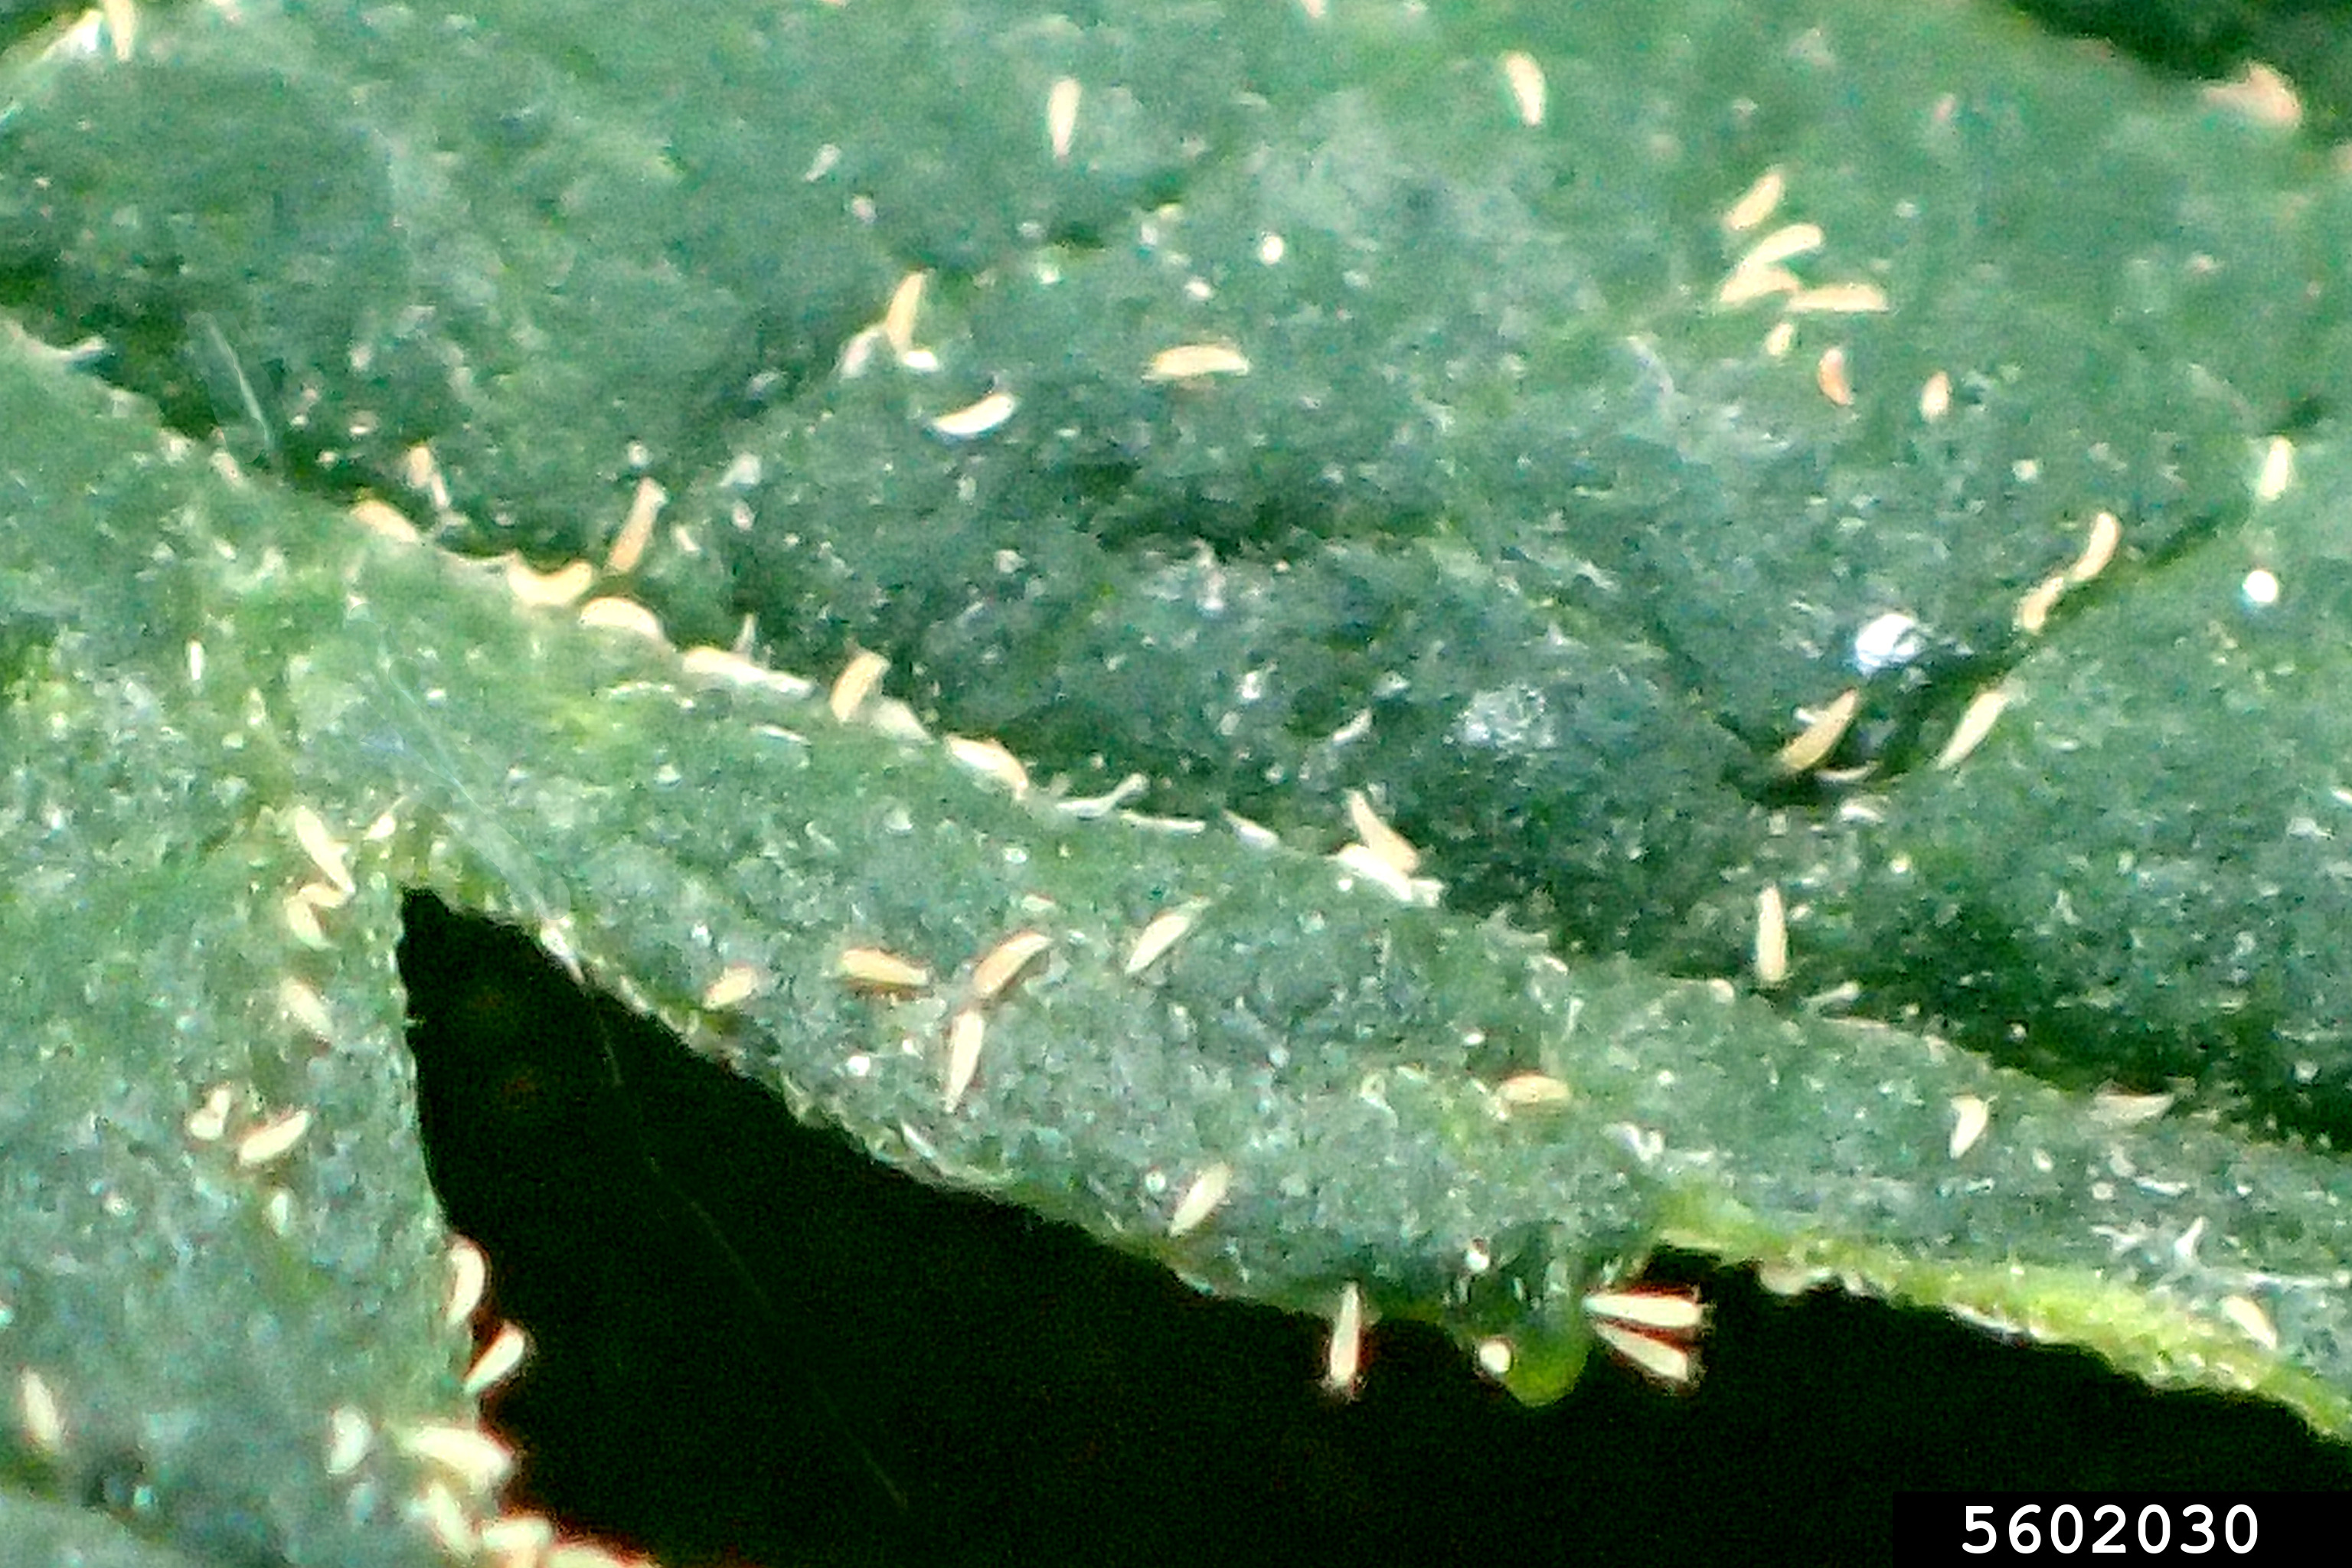
Tarsonemid mites (broad mite and cyclamen mite). The first symptom appears at the growing tip. New leaves come out small, twisted, curled downwards, thick, brittle and with a waxy-looking shine. Then the tip stops growing, internodes shorten and the underside of the leaves turns bronze. During flowering, new flowers become deformed and calyxes remain stunted. Because the damage is caused by a toxin, distorted leaves do not recover even after the mites are gone: the success of a treatment is measured by new growth.
Eriophyid mites (Aculops cannabicola). The first symptom usually appears on middle and lower leaves: leaflet edges curl upwards and the surface turns matte and slightly rough. This is followed by a bronze or rusty tone on leaves, petioles and stems, yellowing that moves up from the bottom, and petioles that snap easily. During flowering, trichomes look flattened or brown and buds look dull. At very high densities, the leaf seems covered in a fine cream-coloured dust, which is the mites themselves.
Neither group spins webbing or leaves the scattered white stippling typical of spider mites.
What magnification you need to see micro mites
From 30x they can be made out as moving dots. To see the body shape and tell a tarsonemid from an eriophyid, you need 40 to 60x, ideally with a stereo microscope or a USB digital microscope, which also lets you photograph the sample. Broad mite eggs, which are more exposed on leaf undersides and stems, can be spotted with a 20x hand lens with some practice.
Tarsonemid mites are found on growing tips and inside folded leaves, so it is worth cutting off a tip and opening it under magnification. Eriophyid mites are found on the undersides of middle leaves with curled edges, on bronzed petioles and stems and, during flowering, among the trichomes. Another method is to press clear adhesive tape onto a stem or petiole and examine it under the microscope. A single negative sample does not rule out the pest: check several plants and several heights.
How to tell micro mites from other problems
The table starts from what you can see. No symptom is conclusive on its own; the diagnosis is confirmed by seeing the organism.
| What you see | Where it appears first | Likely cause | How to confirm it |
|---|---|---|---|
| Small, twisted new leaves, curled downwards and shiny; the tip stops growing | Growing tips | Broad mite | 40 to 60x on the opened tip; eggs with white tubercles |
| Wrinkled, dark, crowded young leaves in cool, humid conditions | Leaves not yet unfolded | Cyclamen mite | 40 to 60x inside folded leaves; smooth eggs |
| Leaflet edges curled upwards, matte surface, yellowing that moves up from the bottom | Middle and lower leaves | Hemp russet mite | 60x; elongated, spindle-shaped mites |
| Stems and petioles with a bronze or rusty tone, flattened or brown trichomes | Stems and flowers | Hemp russet mite | Adhesive tape on the stem, under the microscope |
| White or yellowish dots and fine webbing | Leaf undersides | Spider mite | 10x hand lens |
| Silvery patches with black specks | Upper leaf surface | Thrips | 10x hand lens; elongated insects |
| Necrotic edges on young leaves, the same on every plant, no mites | Young leaves | Calcium or boron deficiency, or insufficient transpiration | Check irrigation, pH and climate |
| General stunting and small leaves without mites, often on old mother plants or their cuttings | Whole plant | Possible hop latent viroid (HLVd) | Laboratory test |
A deficiency or heat stress can distort new leaves in a similar way to broad mites. The practical difference is that a deficiency affects all plants on the same feeding equally, while mites spread in patches. Before changing the feeding schedule, rule out mites with magnification. Spider mites in cannabis and thrips, aphids and leaf miners have their own guides.
Micro mites indoors and outdoors: the effect of heat and humidity
Broad mites reproduce faster in heat and high humidity, and under those conditions complete a generation in less than a week. Cyclamen mites thrive in cool temperatures, around 15 to 20 °C, and high humidity. Hemp russet mites are favoured by heat; the effect of humidity on them is less well documented.
Micro mites in indoor grows
The stable temperature of an indoor grow allows continuous generations, and there are no natural enemies. The pest almost always arrives on cuttings or new plants, on clothing or on tools. The recommended humidity for cuttings, 80 to 90%, and for vegetative growth, 60 to 75%, matches the conditions that favour broad mites, so cuttings deserve special attention. Temperature and humidity settings for each stage are covered in the guide to VPD in cannabis cultivation; against this pest it is enough to avoid sustained high humidity outside the cutting stage.
Micro mites in outdoor grows
Micro mites arrive from other host plants, carried by wind in the case of eriophyid mites or by whiteflies in the case of broad mites. Beneficial fauna helps keep them in check, but warm, humid spells can make broad mite populations explode within a few days.
In hot, humid conditions, check the growing tips every few days and bear in mind that sulfur and oils burn more easily, so they should be applied at the end of the day. In cold conditions reproduction slows down, but the cyclamen mite remains active, treatments take longer to show results and predatory mites lose effectiveness.
How to prevent micro mites
The main risk lies in the plant material that enters the grow. Every cutting or new plant should spend one to two weeks in quarantine, kept apart and checked under magnification. Mother plants need regular inspections: a russet mite on a mother plant travels with every batch of cuttings and is the most common cause of infestations that return cycle after cycle.
It also helps to work in healthy areas first, change clothes after visiting other grows, clean pruning shears between plants, avoid keeping other broad mite hosts such as peppers or tomatoes in the same space, and control whiteflies. Between cycles, remove all plant debris and clean surfaces, pots and tools. Micro mites do not shelter in the growing medium the way spider mites do, but reusing soil from an infested grow is still not advisable. Preventive releases of predatory mites during the vegetative stage round off these measures.
Treating micro mites by growth stage
Three rules apply at every stage. Contact products do not kill eggs, so at least three applications 4 to 7 days apart are needed, with shorter intervals the hotter it is. Leaf undersides, tips and stems must be thoroughly wetted. And any product should first be tested on a single branch, waiting 24 to 48 hours.
Mother plants and cuttings
A mother plant with russet mites or with widespread broad mite distortion should be discarded. Treating it while still taking cuttings spreads the pest across the whole grow. A cutting with symptoms does not go in.
Vegetative stage
This is the stage with the most room for action. Remove the most affected tips and leaves in a sealed bag and alternate sulfur with potassium soap. If you want to use oil, at least two weeks must pass after the last sulfur application. Predatory mites should not be used at the same time as sulfur.
Pre-flowering
This is the last window for spraying. Sulfur is no longer used once flowering begins, and potassium soap and oils only while there are no formed calyxes, because after that the residues get trapped in the flower.
Micro mites during flowering: what to do
Once buds have formed, nothing is sprayed onto the flowers: any residue, including natural ones, ends up in the final product. The options are to cut off the most affected branches, isolate the plant and release predatory mites, which have limited effect in dense buds. With russet mites in late flowering, damaged trichomes do not recover; if the damage reaches the main colas, harvesting early usually saves more quality than waiting. Affected plants are dried outside the grow space.
Do not raise humidity to favour predatory mites. Damaged tissue is an entry point for fungi in cannabis cultivation such as botrytis, which develops between 15 and 22 °C with humidity sustained above 85%.
How to get rid of micro mites biologically
Predatory mites
Against broad mites, Neoseiulus californicus (formerly Amblyseius californicus) works well and tolerates heat and low humidity, as does Amblyseius swirskii, which performs best in warm conditions and also feeds on thrips and whiteflies. Neoseiulus cucumeris acts on tarsonemid mites, including the cyclamen mite, but needs high humidity. Amblyseius andersoni tolerates a wide temperature range and is used against broad mites and eriophyid mites, although the evidence against Aculops cannabicola is more limited.
Phytoseiulus persimilis specialises in spider mites and does not feed on micro mites. Typhlodromus pyri and Kampimodromus aberrans control eriophyid mites in vineyards and orchards, but are not commonly used in cannabis. Predatory mites perform best as a preventive measure or against low populations, and they are incompatible with sulfur and most acaricides.
Natural contact products
Potassium soap. It acts on contact and has no residual effect. Hard water makes it precipitate, so it is best prepared with low-conductivity water.
Paraffin or vegetable oils. They work by suffocation and only kill what they wet. In heat or strong light they can burn leaves.
Sulfur. It is one of the most effective treatments against eriophyid and tarsonemid mites. It burns the plant above about 30 °C, must not be combined with oils (leave at least two weeks between them) and is not used during flowering.
Neem oil and azadirachtin. Their effect is limited because they do not reach mites hidden in growing tips and folded leaves. They are not applied to flowers.
Entomopathogenic fungi. Products based on Beauveria bassiana have some activity against mites, but they need high humidity and their effectiveness varies.
Even though they are of natural origin, they should be prepared and applied wearing gloves, goggles and a mask.
How to get rid of micro mites chemically: abamectin and other acaricides
An insecticide is not an acaricide. Many insecticides have no effect on mites, and pyrethrins and pyrethroids, besides having little acaricidal effect, kill predatory mites and are associated with pest resurgence.
Abamectin is the synthetic acaricide most often cited against micro mites. It is an avermectin obtained by fermentation of the bacterium Streptomyces avermitilis; it acts by contact and ingestion, penetrates the leaf and paralyses the mite, but does not affect eggs. It is problematic because in many markets it is not registered for cannabis, it is among the residues tested for in regulated cannabis, it is highly toxic to predatory mites, bees and aquatic organisms, and repeated use has led to resistance. It is not advisable for home growing: there is no way to verify that the pre-harvest interval has been respected in a product that will be smoked or inhaled, and effective alternatives exist during the vegetative stage.
Other acaricides, such as spirotetramat, which is systemic and spreads throughout the whole plant, raise the same problem even more so. Any synthetic acaricide should only be used where it is authorised for this crop, respecting the pre-harvest interval and never during flowering.
Common mistakes when treating micro mites and how to avoid them
- Mistaking the damage for a deficiency. Before changing the feeding, check the growing tip at 40 to 60x: if the damage spreads in patches and does not affect all plants equally, mites are the likely cause.
- Treating only once. At least three applications 4 to 7 days apart are needed to reach the mites that hatch from eggs after each treatment.
- Spraying only the outside of the plant. Wet the leaf undersides, the stems and the inside of the tips, removing the most damaged tips first so the product can get in.
- Using pyrethroids. In the vegetative stage, sulfur, oils and potassium soap work, and at any stage predatory mites do act on the pest.
- Combining sulfur and oil, or applying them in heat. Leave at least two weeks between them and apply them at the end of the day or at the end of the light period, below about 30 °C.
- Taking cuttings from an infested mother plant. Discard the mother and start the next cycle with clean material that has been through quarantine.
- Waiting for distorted leaves to recover. Toxin damage is permanent, so the treatment is judged by new growth: if the new leaves come out normal, it has worked.
What to do if you suspect micro mites
When new leaves come out distorted or edges curl for no clear reason, the first step is to confirm at 40 to 60x before touching the feeding. Where the damage starts tells you which group it is: at the growing tip it points to tarsonemid mites, usually the broad mite, and on middle and lower leaves to the russet mite. From there, the growth stage decides. In the vegetative stage, treat thoroughly and repeatedly. During flowering, only physical and biological measures are possible. And an infested mother plant is discarded. The result is judged by new growth, not by leaves that are already damaged. For the next cycle, the measure that most reduces the risk is controlling what comes in: cuttings and new plants in quarantine and checked under magnification.